Capturing panoramic photos is a technique that allows photographers to create wide, expansive images which showcase landscapes and scenes far beyond what a single frame can cover. A gimbal head attached to a tripod is essential for creating seamless panoramic photos. It helps maintain a consistent horizon and smooth panning.
By ensuring the camera moves around the nodal point, the gimbal head minimises the parallax error that can misalign objects between frames, which is crucial for later stitching the images together.
The process begins by setting up the equipment, ensuring the tripod is stable, and the gimbal head is correctly levelled. Getting the nodal point precisely aligned with the centre of rotation avoids distortion in the resulting panorama. The camera must be set to manual mode to keep consistent exposure and focus settings across all shots. With the setup complete, the photographer rotates the camera in increments, capturing overlapping images covering the desired field of view.
The post-production stage involves stitching these images together using software, which results in a single wide-angle image. Adjustments may be necessary to align the photos perfectly and blend them seamlessly. Since a question often arises about the process and equipment needed, it’s helpful to have a resource addressing those inquiries.
How to Use a Gimbal Head for Panoramic Photos? – Key Takeaways
- A gimbal head assists in capturing consistent and aligned panoramic photos.
- Precise equipment setup and manual camera settings are crucial.
- Software is used to stitch the images together in post-production.
Setting Up the Equipment
Setting up your equipment correctly is vital before capturing the vastness of a landscape with a sweeping panoramic photograph. Precise alignment and calibration of your gear will ensure a seamless stitch in post-production.
Choosing the Right Gear
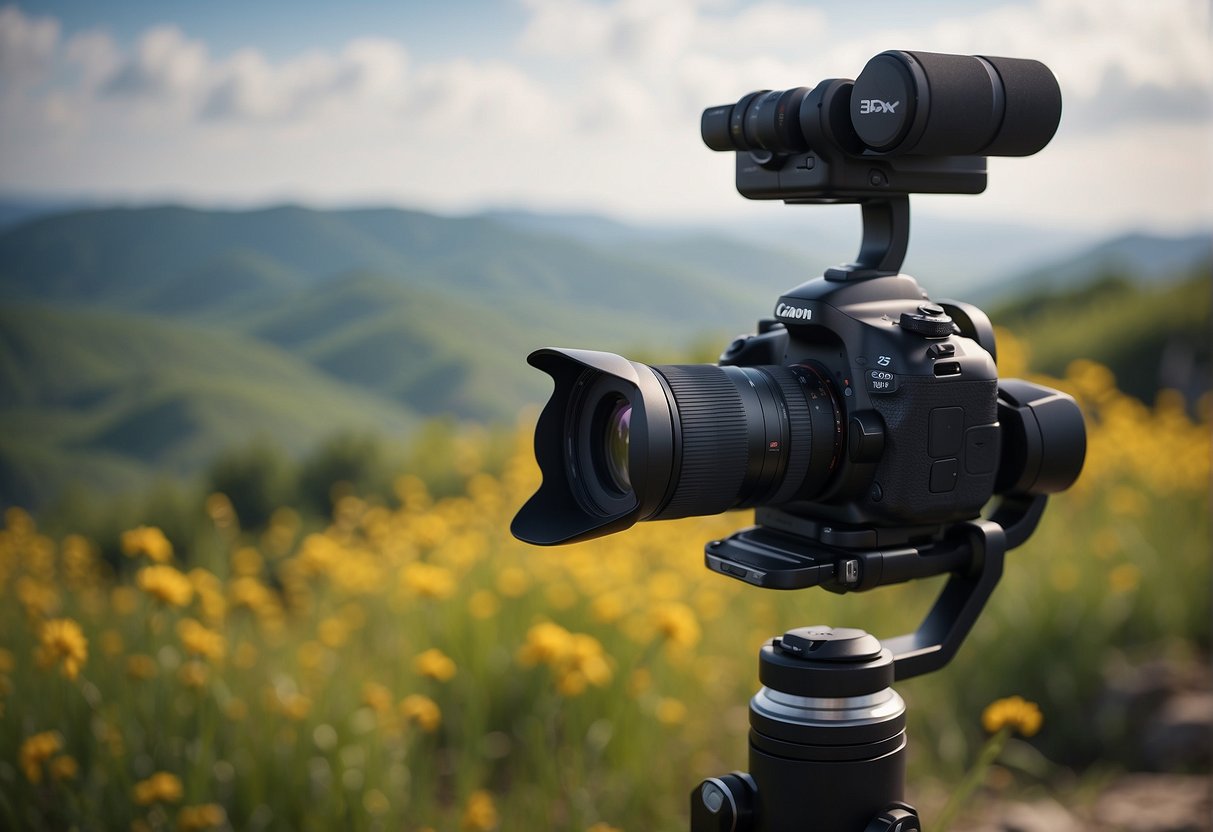
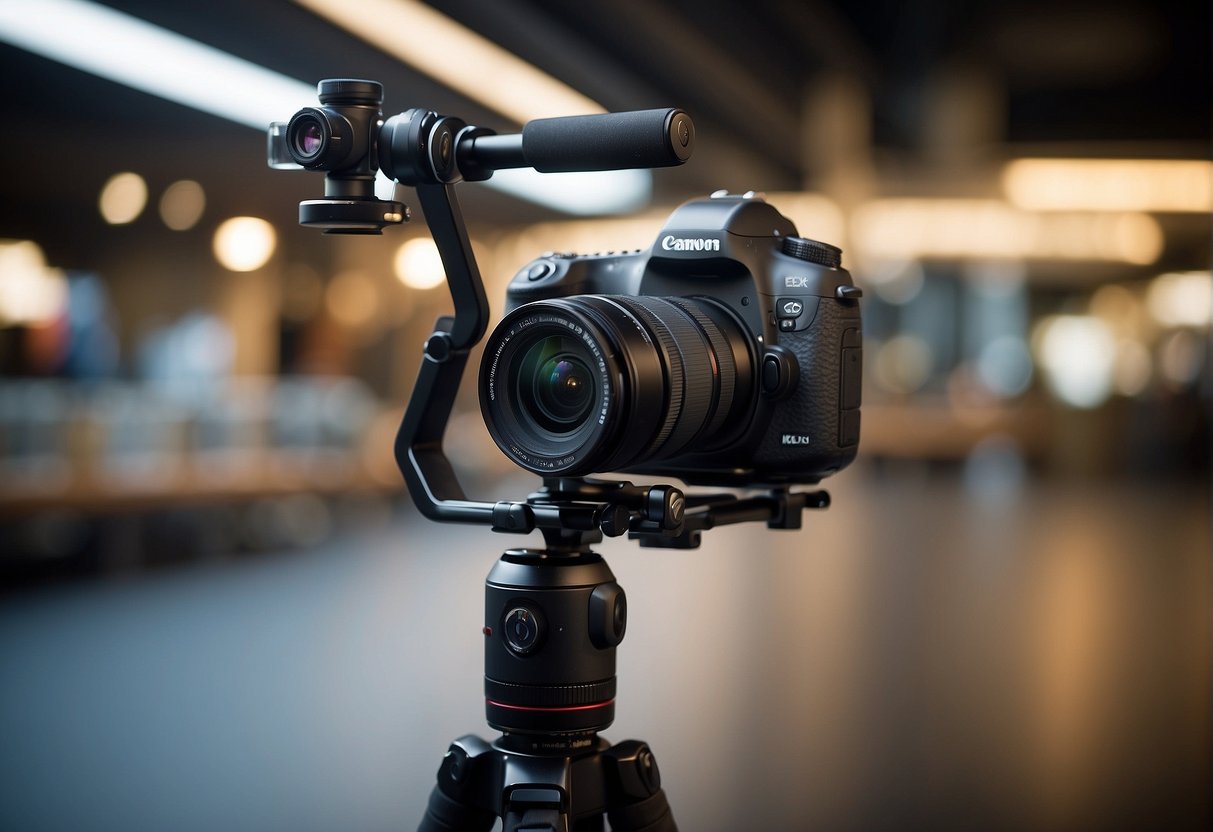
To start, select the appropriate equipment, which includes a robust tripod, a dedicated gimbal or pano-gimbal head, and a suitable camera and lens. A lightweight and compact setup for panoramic shots can benefit mobility, but it must be strong enough to maintain stability.
Mounting and Balancing the Camera
Next, securely attach the camera to the gimbal head using an Arca-Swiss dovetail quick-release plate. Balance the setup by adjusting the vertical and horizontal arms. Ensure the bubble level on the gimbal head indicates the camera is perfectly levelled.
Calibrating for Panoramic Precision
Calibration is crucial for accuracy. Determine the nodal point to avoid parallax errors, especially when dealing with objects at varying distances. Use a nodal rail or nodal slide to align the lens’s entrance pupil with the gimbal head’s rotation point.
Composition and Framing
Compose your scene thoughtfully. The landscape or cityscape should guide how you frame the panoramic shot. Determine whether you’ll capture a single-row or a multi-row panoramic photo, and consider both the foreground and background elements in your composition.
Shooting Techniques for Panoramic Images
For the shooting step, employ a methodical technique: set the focus, exposure, white balance, and ISO to manual to avoid variations. Start shooting from one end and overlap images by about 30% for easier stitching in post-production.
Ensuring Stability and Performance
Confirm that each component of your setup — the tripod, gimbal head, and levelling base — is secured to handle the load. The performance of ball heads may differ from full-gimbal types, so choose one that supports your camera’s weight and balance.
Accessorising for Enhanced Functionality
Accessories can enhance functionality. Use a lever-release instead of a screw-knob for quick adjustments; consider telephoto lenses for detail or wide-angle lenses for expansive scenes. Additionally, collared lenses can provide better balance on the gimbal head.
Post-Processing Panoramic Photos
Post-processing panoramic photos is critical to achieving a high-quality, seamless panoramic image. Attention must be paid to stitching accuracy and image correction to ensure the final panorama is visually compelling and error-free.
Essentials of Panoramic Stitching
- Software Selection: Choose the right software, such as Adobe Lightroom, which provides robust tools for panoramic stitching.
- Stitching Process: Import your panoramic shots into the software and use the stitching function to merge them systematically, which involves aligning and blending the images.
Advanced Techniques for Seamless Panoramas
- Handling Stitch Errors: Carefully inspect the stitched panorama for any errors or mismatches and employ advanced techniques in your software to correct them.
- Adjustments: Use horizontal arm and vertical rotation adjustments to ensure the panorama aligns correctly across the full sweep of the shots.
Finalising Your Panorama for Display
- Crop and Retouch: Trim the edges of the panoramas to clean up any irregularities and retouch any remaining imperfections.
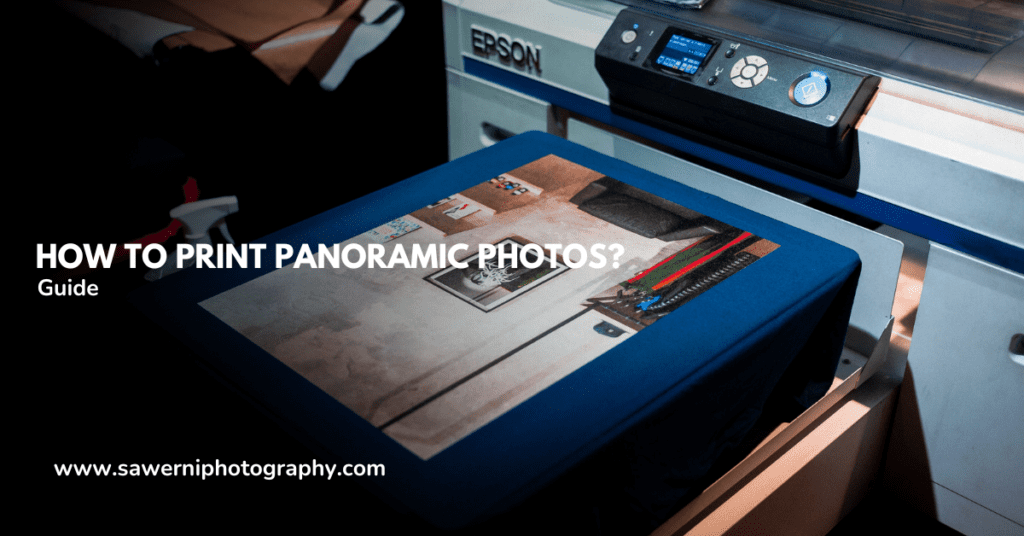
- Preparation for Output: Enhance the final image for print or digital display, adjusting resolution and colour balance for the medium of choice.
Learning Resources
- Online Tutorials: Look for an online tutorial that offers step-by-step guidance on panoramic photography post-processing.
- Books and eBooks: Invest in a thorough eBook or publication to deepen your understanding, potentially focusing on landscape photography and panoramic techniques.
Remember, creating spectacular panoramas requires precision in the field and careful post-processing. Equip yourself with the knowledge and tools for panoramic photography through learning resources like online tutorials and publications from reputable sources like B&H Photo. Consider using gear such as the RRS MPR-CL, MPR-CL II, or the Right Stuff PG-01 Compact Pano-Gimbal Head for precise captures that lead to breathtaking panoramic photographs.
Frequently Asked Questions
Gimbal heads are pivotal for photographers aiming to capture expansive landscape shots precisely and efficiently. Here are some direct answers to common queries about their use in panoramic photography.
What are the steps for setting up a gimbal head for panoramic photography?
One should first securely attach the camera and lens to set up a gimbal head for panoramic shots. Then, balance the gimbal head to ensure smooth movement across the axis. Adjusting the head to the necessary degrees for each shot ensures an evenly spaced-panoramic sequence.
How can a gimbal head improve the quality of landscape photographs?
A gimbal head facilitates smoother transitions and consistent levelling, which is crucial for high-quality landscape images. It allows for precise control and stability, particularly with heavy telephoto lenses, resulting in sharper images and a more uniform panoramic sequence.
Can seamless panoramic shots be achieved using a gimbal head without a nodal slide?
While a nodal slide aids in aligning the lens’s entrance pupil to avoid parallax errors, experienced photographers can still achieve seamless panoramic shots with just a gimbal head by maintaining a consistent axis and carefully planning the overlap of the images.
What techniques should one employ when using a gimbal head for overlapping panoramic shots?
Photographers should ensure a minimum overlap of around 30% between images for successful stitching. Using reference points in the scene can help maintain alignment, and a consistent rotation angle between shots ensures a smooth overlap.
Can using a gimbal head benefit the stitching process in post-production for panoramas?
Indeed, a gimbal head can enhance the post-production stitching process. By providing a stable and uniform series of images, the risk of misalignment is significantly reduced, easing the creation of a seamless panoramic image.
What are the advantages of using a gimbal over a standard tripod head for panoramic images?
Gimbal heads offer superior balance and fluid movement for heavy equipment, which is essential when creating panoramas. They provide better control and precision, ensuring consistent levels and image overlap, making them preferable over standard tripod heads for panoramic photography.